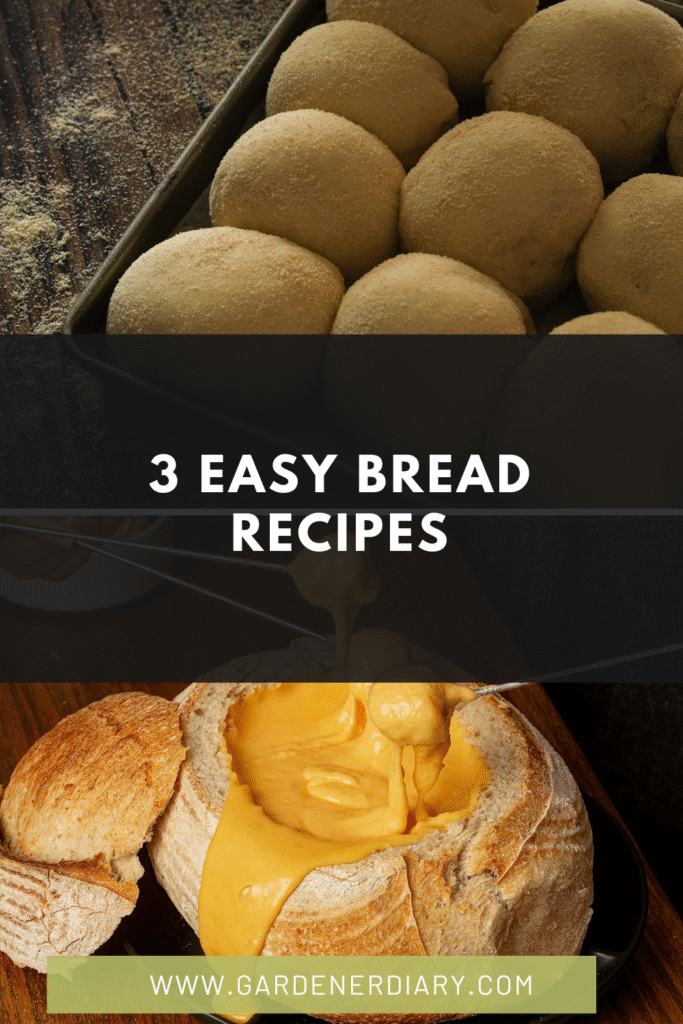
Easy Bread Recipes: Your Ultimate Guide to Delicious Homemade Loaves (No Experience Needed!)
There’s something truly magical about the aroma of freshly baked bread wafting through your home. For many, the idea of baking bread from scratch seems daunting, reserved only for seasoned bakers with years of experience. But what if we told you that creating your own delicious, crusty, and tender loaves can be incredibly simple? This comprehensive guide is dedicated to demystifying the art of homemade bread, offering a collection of easy bread recipes that require minimal effort and deliver maximum satisfaction. Whether you’re a complete novice or just looking for a straightforward way to enjoy the warmth of fresh bread, you’ve come to the right place. Let’s embark on a delightful journey into the world of simple, satisfying bread baking!
Why Bake Bread at Home? The Simple Joys and Benefits
Beyond the incredible taste and aroma, baking your own bread offers numerous advantages:
- Unbeatable Freshness: Nothing compares to bread straight from your oven.
- Control Ingredients: You know exactly what goes into your bread, avoiding preservatives and artificial additives. This aligns perfectly with a focus on how to eat healthy for beginners.
- Cost-Effective: Baking at home is significantly cheaper than buying artisanal loaves.
- Therapeutic Process: The act of mixing, kneading (or not!), and watching dough rise can be incredibly calming and satisfying.
- Impress Your Guests: Fresh homemade bread is always a showstopper at any meal.
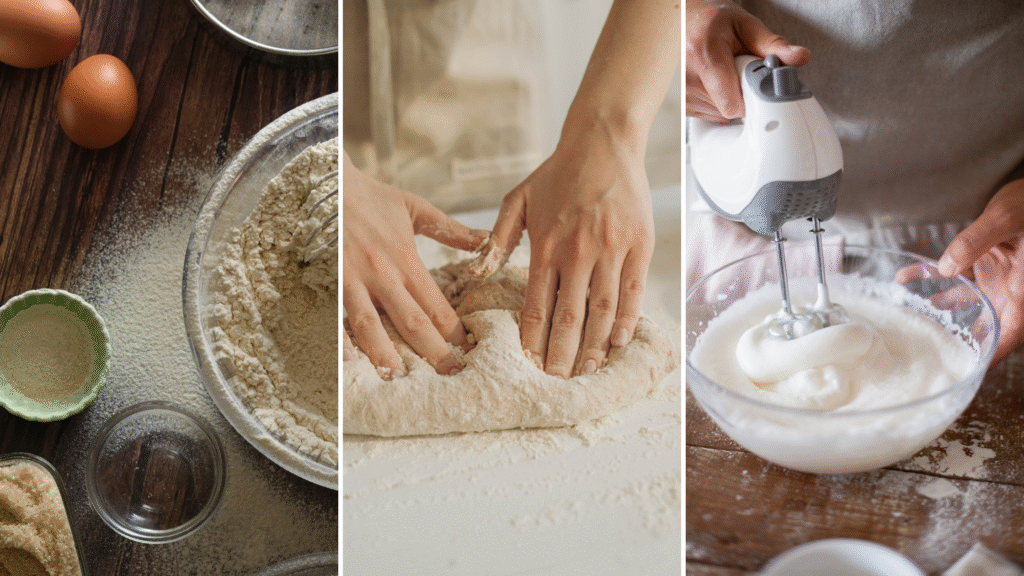
Essential Tools & Ingredients for Easy Bread Making
You don’t need a professional bakery setup to make great bread. Here are the basics:
Basic Tools:
- Large Mixing Bowl: For combining ingredients and rising.
- Measuring Cups & Spoons: Accuracy is important in baking.
- Kitchen Scale (Optional but Recommended): For precise ingredient measurements, especially flour.
- Dough Scraper: Helps with handling sticky dough.
- Dutch Oven or Baking Sheet: Depending on the recipe. A Dutch oven is fantastic for crusty loaves.
- Cooling Rack: Essential for preventing a soggy bottom.
- For other useful kitchen and garden tools, check out our guide on best gardening tools – many principles of quality and utility apply!
Key Ingredients:
- Flour: All-purpose flour is versatile. Bread flour has higher protein content for chewier bread.
- Yeast: Active dry yeast or instant yeast. Instant yeast is often preferred for its convenience as it doesn’t need to be proofed.
- Water: Lukewarm water (around 105-115°F / 40-46°C) is ideal for activating yeast.
- Salt: Essential for flavor and controlling yeast activity.
- Sugar (Optional): A small amount can help activate yeast and add flavor, but isn’t always necessary.
Our Top Easy Bread Recipes
Recipe 1: The Revolutionary No-Knead Artisan Bread
This recipe changed the home baking game. It requires virtually no effort, just time. The long fermentation develops incredible flavor and a beautiful, rustic crust.
Yields: 1 loaf | Prep time: 10 minutes active + 12-18 hours rise | Bake time: 45-50 minutes
Ingredients:
- 3 cups (380g) all-purpose or bread flour
- 1 ¼ teaspoons salt
- ½ teaspoon instant yeast
- 1 ½ cups (360ml) lukewarm water
Instructions:
- Mix Ingredients: In a large bowl, combine flour, salt, and instant yeast. Add the lukewarm water and stir with a wooden spoon or spatula until just combined. The dough will be shaggy and sticky. Do not knead.
- First Rise (Long Fermentation): Cover the bowl tightly with plastic wrap. Let it sit at room temperature (around 70°F / 21°C) for 12-18 hours. The dough should be bubbly and more than doubled in size.
- Shape the Dough: Lightly flour your work surface. Scrape the dough out onto the floured surface. Fold the edges of the dough towards the center a few times to form a rough ball. Do not overwork it.
- Second Rise: Place a piece of parchment paper (about 12×12 inches) in a bowl or proofing basket. Lightly flour the parchment paper and place the dough ball seam-side up onto it. Cover with a clean kitchen towel and let rise for another 30-60 minutes while your oven preheats.
- Preheat Oven & Dutch Oven: Place a 6-quart (or larger) Dutch oven with its lid in your oven. Preheat the oven to 450°F (232°C) with the Dutch oven inside for at least 30 minutes.
- Bake: Carefully remove the hot Dutch oven from the oven. Using the parchment paper, lift the dough and gently lower it into the hot Dutch oven. Cover with the lid and bake for 30 minutes.
- Brown the Crust: Remove the lid and bake for another 15-20 minutes, or until the crust is deep golden brown and sounds hollow when tapped.
- Cool: Carefully remove the bread from the Dutch oven and transfer it to a wire rack to cool completely before slicing. This is crucial for texture.
Tips for this Recipe:
- Don’t Rush the Rise: The long fermentation is key to flavor.
- High Heat is Your Friend: The hot Dutch oven creates steam, which gives the bread its amazing crust.
- Cool Completely: Slicing hot bread can make it gummy.
Recipe 2: Quick & Easy White Sandwich Bread (Light Kneading)
If you want a classic, soft, and fluffy loaf perfect for sandwiches or toast, this recipe is a fantastic starting point. It involves a bit of kneading, but it’s minimal and very forgiving.
Yields: 1 loaf | Prep time: 20 minutes active + 1.5-2 hours rise | Bake time: 30-35 minutes
Ingredients:
- 2 ¼ teaspoons active dry yeast (1 standard packet)
- 1 cup (240ml) lukewarm water (105-115°F / 40-46°C)
- 2 tablespoons granulated sugar
- 1 teaspoon salt
- 2 tablespoons olive oil or melted butter
- 3-3 ½ cups (360-420g) all-purpose flour
Instructions:
- Activate Yeast: In a large bowl, combine lukewarm water and sugar. Sprinkle yeast over the top and let it sit for 5-10 minutes until foamy. This confirms your yeast is active.
- Add Wet Ingredients: Stir in the salt and olive oil (or melted butter) into the yeast mixture.
- Add Flour Gradually: Add 2 cups of flour and stir until combined. Gradually add the remaining flour, ½ cup at a time, mixing until a shaggy dough forms.
- Light Kneading: Turn the dough out onto a lightly floured surface. Knead for 5-7 minutes until the dough is smooth and elastic. It should be slightly tacky but not overly sticky.
- First Rise: Lightly grease the mixing bowl. Place the dough in the bowl, turning once to coat. Cover with plastic wrap or a clean kitchen towel. Let rise in a warm place for 1-1.5 hours, or until doubled in size.
- Shape the Loaf: Gently punch down the dough to release air. Turn it out onto a lightly floured surface. Shape it into a loaf by flattening it into a rectangle, then rolling it tightly from one long side to the other. Pinch the seam closed.
- Second Rise: Place the shaped loaf into a lightly greased 9×5 inch loaf pan. Cover loosely with plastic wrap or a kitchen towel. Let rise in a warm place for 30-45 minutes, or until the dough has risen about 1 inch above the top of the pan.
- Preheat Oven: Preheat your oven to 375°F (190°C).
- Bake: Bake for 30-35 minutes, or until the crust is golden brown and the internal temperature reaches 200-210°F (93-99°C) with an instant-read thermometer.
- Cool: Remove from the pan immediately and cool on a wire rack completely before slicing.
Tips for this Recipe:
- Warm Place for Rising: A slightly warm oven (turned off, with the light on) or a sunny spot works well.
- Don’t Over-Flour: Use just enough flour during kneading to prevent sticking.
- Check for Doneness: Tapping the bottom of the loaf should produce a hollow sound.
Recipe 3: Super Easy Irish Soda Bread (No Yeast!)
This quick bread uses baking soda as its leavening agent, meaning no yeast, no kneading, and no long rise times! It’s perfect for when you need fresh bread in a hurry.
Yields: 1 round loaf | Prep time: 10 minutes | Bake time: 40-45 minutes
Ingredients:
- 3 cups (360g) all-purpose flour
- 1 teaspoon baking soda
- 1 teaspoon salt
- 1 ¾ cups (420ml) buttermilk (or milk + 1 tbsp lemon juice/vinegar)
- Optional: ¼ cup (50g) sugar, ½ cup (75g) raisins or currants
Instructions:
- Preheat Oven: Preheat your oven to 400°F (200°C). Lightly grease a baking sheet or line with parchment paper.
- Mix Dry Ingredients: In a large bowl, whisk together flour, baking soda, and salt. If using, stir in sugar and raisins/currants.
- Add Buttermilk: Make a well in the center of the dry ingredients. Pour in the buttermilk.
- Mix Gently: Use a wooden spoon or your hands to mix until just combined. Do not overmix; the dough will be shaggy and sticky. Overmixing develops gluten and makes the bread tough.
- Shape & Score: Turn the dough out onto a lightly floured surface. Gently shape into a round loaf, about 7-8 inches in diameter. Transfer to the prepared baking sheet. Using a sharp knife, cut a large “X” about ½ inch deep across the top of the loaf.
- Bake: Bake for 40-45 minutes, or until the crust is golden brown and the loaf sounds hollow when tapped on the bottom.
- Cool: Transfer to a wire rack to cool slightly before slicing and serving warm.
Tips for this Recipe:
- Don’t Overmix: This is crucial for tender soda bread.
- Homemade Buttermilk: If you don’t have buttermilk, add 1 tablespoon of lemon juice or white vinegar to a measuring cup, then fill to 1 ¾ cups with regular milk. Let sit for 5 minutes before using.
- Serve Warm: Soda bread is best enjoyed fresh and warm.
General Tips for Bread Baking Success
Regardless of the recipe, these universal tips will help you achieve consistently great results:
- Measure Accurately: Especially flour. Too much flour is a common cause of dense, dry bread. Using a kitchen scale for flour (grams) is the most accurate method.
- Check Yeast Freshness: If your yeast doesn’t foam when mixed with warm water and sugar (if applicable), it’s likely dead. Get new yeast.
- Warm Environment for Rising: Yeast loves warmth. A slightly warm oven (turned off, with the light on), a sunny spot, or near a warm appliance can speed up rising.
- Patience with Rising: Don’t rush the rise. Dough needs time to develop flavor and texture. If your kitchen is cool, it will simply take longer.
- Don’t Over-Knead (if kneading): For recipes requiring kneading, stop when the dough is smooth and elastic. Over-kneading can make bread tough.
- Cool Completely: Resist the urge to slice into hot bread (unless it’s soda bread, which is best warm). Cooling allows the internal structure to set and prevents a gummy texture.
- Experiment with Add-ins: Once comfortable with basic recipes, try adding herbs, cheese, seeds, or dried fruits to customize your loaves.
Serving Your Homemade Bread
Freshly baked bread is a versatile delight!
- With Meals: Serve alongside hearty stews, soups, or pasta dishes. It’s also perfect with chicken recipes ideas or as a side for easy chicken recipes for dinner with few ingredients.
- For Breakfast/Brunch: Toast slices with butter and jam, or use for French toast.
- Sandwiches: Elevate your daily sandwich game with homemade bread.
- Appetizers: Slice and serve with olive oil and balsamic vinegar, or use for bruschetta.
- Croutons/Breadcrumbs: Stale bread makes excellent croutons or breadcrumbs for cooking.
Storing Your Homemade Bread
To keep your delicious homemade bread fresh for as long as possible:
- Room Temperature (1-2 days): Store whole loaves or large pieces at room temperature, wrapped in a clean kitchen towel, in a paper bag, or in a bread box. This allows air circulation while preventing it from drying out too quickly.
- Freezing (Longer Storage): For longer storage, slice the cooled bread and freeze it in an airtight container or freezer bag. This is the best method for preserving freshness. You can learn more about optimal food storage with our guide on best storage containers for vegetables and fruits.
- Avoid Refrigeration: Refrigerating bread can actually make it go stale faster.
Conclusion: The Joy of Baking Your Own Bread
Baking bread at home is a deeply satisfying experience that brings warmth, incredible aromas, and delicious results to your kitchen. With these easy bread recipes, you’ll discover that mastering the basics is well within reach, regardless of your baking background. From the rustic charm of a no-knead artisan loaf to the comforting familiarity of a soft sandwich bread or the quick simplicity of soda bread, there’s a recipe here to get you started.
So, gather your ingredients, set aside some time, and prepare to fill your home with the irresistible scent of freshly baked goodness. The journey of homemade bread baking is not only about the final product but also about the simple joy of creation and the delicious rewards that follow. Happy baking!