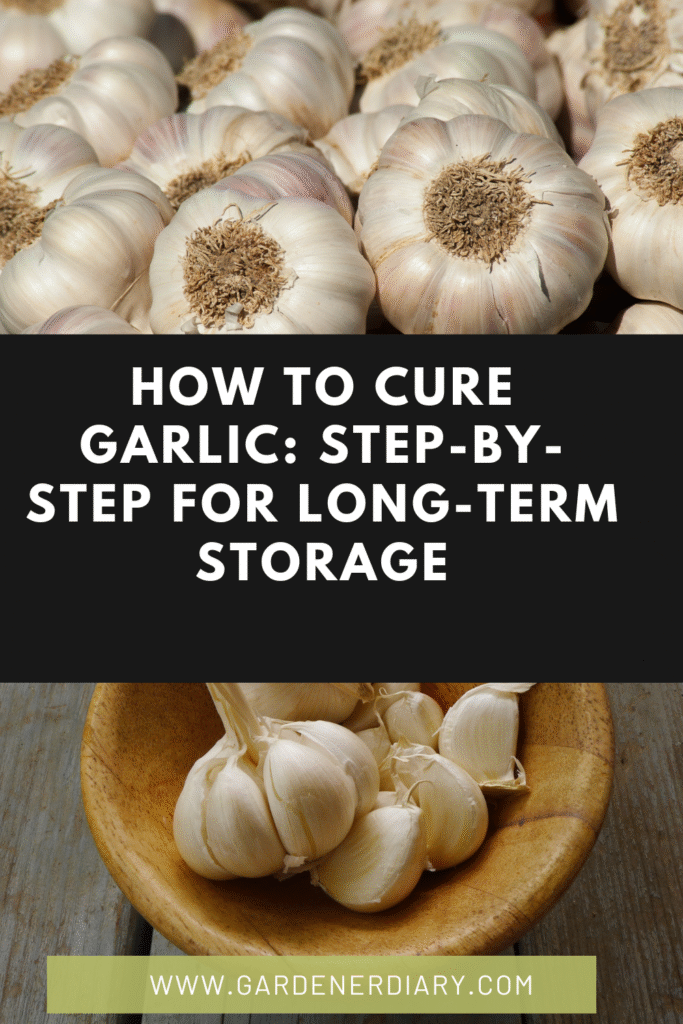
Curing garlic is the process of drying freshly harvested bulbs so they last for months without losing flavor. It helps garlic store better by reducing moisture and preventing mold. Studies show that curing, combined with proper storage, significantly increases bulb shelf life and quality (ResearchGate).
If you grow garlic or buy it fresh from a farm, curing is essential before long-term storage or before you freeze garlic.
Key Takeaway:
- Cure garlic in a shaded, ventilated area for 2–4 weeks.
- Avoid washing bulbs before curing.
- Store cured garlic in a cool, dry place for up to 8 months.
- Use cured garlic for both fresh and cooked recipes.
Why Cure Garlic?
- Longer shelf life – Properly cured garlic can last up to 8 months.
- Better flavor – The drying process intensifies the taste.
- Prevents rot – Reduces moisture that causes mold and decay.
- Easier storage – Dried bulbs are lighter and cleaner.
Post-harvest studies have shown that curing conditions, including humidity and temperature, directly influence garlic’s nutritional compounds and storability (ScienceDirect).
If you plan to make garlic powder or garlic paste, curing first helps preserve the quality.
When to Harvest Garlic for Curing
Garlic is ready for curing when:
- The leaves start to turn yellow or brown.
- There are still a few green leaves left.
- Bulbs are full-sized with tight skin.
Avoid letting the leaves turn completely brown, as this can split the skins and reduce storage life. Scientific findings confirm that harvesting at the right maturity stage is critical for post-harvest garlic preservation (Open Biotechnology Journal).
How to Cure Garlic Step-by-Step
Step 1: Harvest Gently
- Loosen soil around the bulbs with a garden fork.
- Pull bulbs out carefully without bruising them.
- Shake off loose dirt but do not wash.
If you’re unsure about cleaning, check how to peel garlic quickly for post-curing preparation.
Step 2: Choose the Right Location
- Use a shaded, well-ventilated spot.
- Avoid direct sunlight, which can damage flavor.
- A shed, barn, or covered patio works well.
Research shows that avoiding high temperatures during curing helps preserve garlic’s antioxidants and bioactive compounds (PMC).
Step 3: Hang or Lay Out Garlic
- Tie garlic in small bundles and hang from rafters.
- Or spread bulbs on a drying rack or mesh surface.
- Ensure good airflow around each bulb.
Step 4: Let Garlic Cure
- Curing usually takes 2–4 weeks.
- Garlic is ready when the outer skins are papery and roots feel dry.
Step 5: Trim and Store
- Cut off roots close to the bulb.
- Trim stems to about 1 inch above the bulb.
- Store in mesh bags, baskets, or crates in a cool, dry place.
Recent post-harvest research has found that combining curing with proper storage conditions reduces microbial decay and prolongs quality (ScienceDirect).
Cured garlic is perfect for making garlic bread, garlic sauce for pizza, or garlic sauce for steak.
Common Mistakes to Avoid
- Washing garlic before curing – Increases moisture and risk of mold.
- Curing in sunlight – Can overheat and ruin flavor.
- Crowding bulbs – Reduces airflow and causes rot.
- Curing too short – Leads to quicker spoilage.
How to Store Cured Garlic
- Keep in a cool, dry, and dark place.
- Avoid plastic bags, which trap moisture.
- Store away from heat sources like ovens or heaters.
- Use older bulbs first.
You can later use cured garlic for recipes like garlic confit, garlic sauce for chicken, or garlic sauce for prawns.