Key Takeaway
- Select a healthy leaf or offset and cut cleanly near the base
- Allow the cutting to dry and callous for 1–2 days
- Use a well-draining soil mix (cactus or succulent blend)
- Insert the cut end slightly into the soil—just enough to anchor it
- Water lightly and only when the soil is fully dry
- Place the pot in a warm, indirect sunlight location
- Be patient—rooting may take 2–4 weeks or longer
- Success is higher with offsets (pups) than with plain leaf cuttings
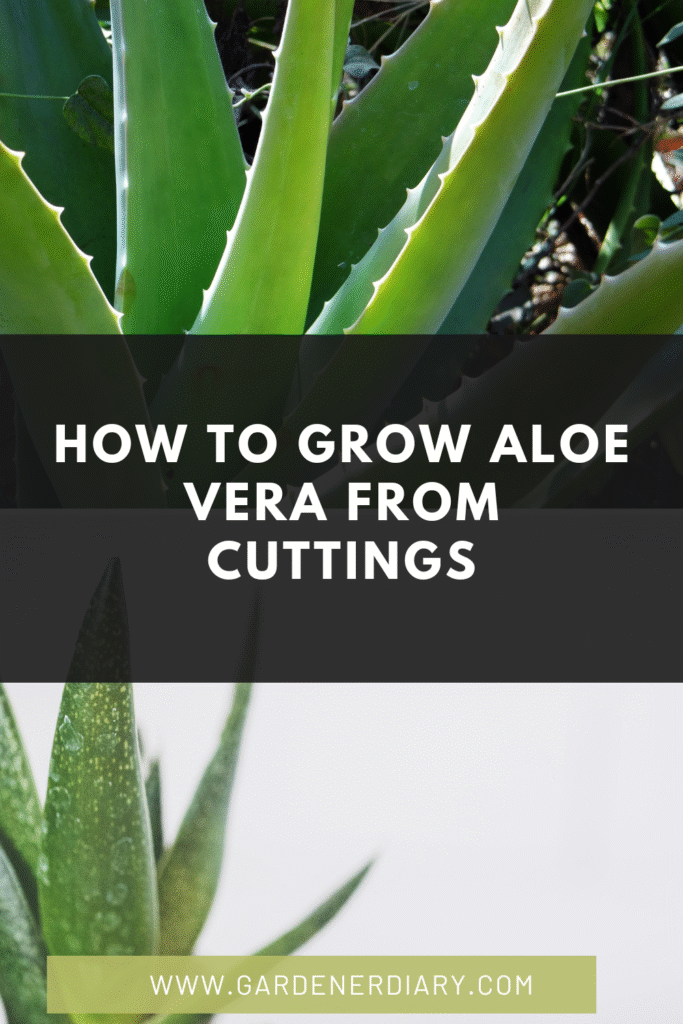
How to Grow Aloe Vera from a Cutting: The Ultimate Step-by-Step Propagation Guide
Aloe vera is a beloved houseplant, celebrated for its stunning form and incredible versatility. Its leaves are packed with a soothing gel used for everything from skincare to minor burns. For many enthusiasts, having just one plant isn’t enough, leading to the desire to propagate and grow more. While many succulents can be easily grown from a single leaf, aloe vera is a bit more particular. The most successful and widely recommended method for propagation is from a cutting.
This guide will take you far beyond the basics, offering an in-depth, step-by-step approach to growing a new aloe vera plant from a cutting. We’ll explore the science behind why this method works so well, detail the exact tools and materials you’ll need, and provide expert tips to ensure a high success rate. By the end, you’ll have the knowledge to confidently expand your aloe vera collection. This method is the foundation for anyone who wants to know how to grow aloe vera fast at home.
The Difference: Cutting vs. Leaf Propagation
It’s important to clarify the terminology. When we talk about an aloe vera “cutting,” we are not referring to a single, detached leaf. A true aloe vera cutting is a pup (offset) or a basal cutting—a part of the plant that already contains the necessary meristematic tissue at its base to produce a new root system.
- Aloe Leaf: Propagating from a single leaf has a very low success rate because the leaf’s structure is not designed for independent root growth. This is a common point of confusion, which is why we have a separate guide on how to grow aloe vera from a leaf.
- Aloe Cutting/Pup: A cutting, or pup, is a small plant that grows from the base of the main plant. It is already a self-contained unit with the potential to produce a robust root system. This method is used extensively in agriculture and horticulture due to its reliability, as detailed in a review on propagation techniques for aloe vera cultivation.
For those who want to know how to grow aloe vera without roots initially, this guide on cuttings is your best bet for success.
Essential Tools and Materials
Preparation is key. Gather all your materials before you begin the process.
- Healthy Parent Plant: A mature, robust aloe vera plant that has produced a pup or has a plump leaf you can take as a cutting.
- Sterilized Cutting Tool: A sharp knife, shears, or razor blade. Sterilize it with rubbing alcohol to prevent introducing bacteria or fungi.
- Well-Draining Pot: A small pot with drainage holes. Terracotta or clay pots are ideal.
- Succulent Potting Mix: A specialized mix formulated for succulents and cacti.
- Optional: Rooting Hormone Powder: This can accelerate root development and increase success. Interestingly, studies have shown that aloe vera gel itself can act as a rooting hormone for other plants, which you can read about here.
- Optional: Gardening Gloves: To protect your hands from the plant’s spines.
Step-by-Step Instructions for Propagating a Cutting
Step 1: Selecting and Detaching the Cutting (Pup)
The foundation of success lies in the cutting itself.
- Identify the Pup: Look for a pup growing at the base of the mother plant. It should be at least 3-4 inches tall and have its own small leaves. Larger pups are more likely to succeed.
- Gently Dig and Expose: Use your fingers or a small trowel to carefully clear the soil around the base of the pup, exposing its connection to the mother plant.
- Separate with a Clean Cut: With your sterilized knife, make a clean, swift cut to separate the pup from the mother plant. Try to take as much of the root system as possible if the pup has already developed its own roots.
Step 2: Curing the Cutting
This is arguably the most critical step and the reason most propagation attempts fail.
- Let it Dry: Place the separated pup in a warm, dry, and well-ventilated area away from direct sunlight.
- Form a Callus: Wait for a thick, dry, and calloused layer to form over the cut end. This acts as a protective seal against fungal infections and rot. This process can take anywhere from 2 to 7 days, depending on the humidity and temperature of your environment. Do not rush this step.
Step 3: Planting the Cuttings
Once the callus has fully formed, it’s time to plant your cutting.
- Prepare the Pot: Fill your small, well-draining pot with the succulent potting mix, leaving about an inch of space at the top.
- Use Rooting Hormone (Optional): If you are using rooting hormone, gently dip the calloused end of the cutting into the powder, tapping off any excess.
- Plant the Cutting: Create a small hole in the center of the soil and place the cutting inside. The entire calloused base should be buried, and the cutting should be stable enough to stand upright on its own.
Step 4: The Waiting Game (Light and Water)
This is where patience pays off.
- Initial Care: Do not water the newly potted cutting immediately. The plant will use its stored water. Watering too early will lead to rot. Place the pot in a location with bright, indirect light.
- First Watering: Wait at least 2-3 weeks before your first watering. Even then, only water lightly to stimulate root growth. The goal is to encourage the cutting to seek out moisture and establish a root system.
- Rooting Timeline: It can take anywhere from a few weeks to a few months for the cutting to develop a stable root system. This process is a key part of the plant’s physiological response to its new environment, as explored in a study on plant responses to stress here.
Caring for Your Rooted Aloe Vera Cutting
Once your cutting has successfully rooted and has started to show new growth, it’s time to transition it to a regular care routine.
- Watering: Once the plant is established, adopt the “soak and dry” method of watering. Water thoroughly until water drains from the bottom, then wait for the soil to completely dry out before watering again.
- Light: Keep the plant in a spot with bright, indirect light. If you are growing it indoors, a south-facing window is often a good choice. For an outside plant, choose a location with morning sun and afternoon shade.
- Repotting: You can repot the plant into a larger pot after about a year, or when it becomes root-bound.
- Fertilizer: Fertilize once a month during the active growing season (spring and summer) with a diluted liquid succulent fertilizer.
Beyond Cuttings: Other Propagation Methods
While growing from a cutting is the most reliable method, it’s not the only one. For those who enjoy a challenge, propagating from a leaf or from a seed are other options, though they have a much lower success rate and take significantly longer. Growing aloe vera on a large scale for commercial purposes, perhaps for an aloe vera farm, often relies on tissue culture and vegetative propagation for consistent results. You can find more information on this from a journal article on propagation in general here.
We also have a guide on how to grow aloe vera in water, which can be an interesting experiment but is not a recommended long-term solution.
Conclusion: A Rewarding Way to Expand Your Collection
Propagating aloe vera from a cutting is a rewarding process that allows you to multiply your favorite plants with a high degree of success. The key takeaways are to select a healthy pup, allow the cut end to form a protective callus, use the right soil, and be patient with your watering and initial care. By following these detailed, step-by-step instructions, you’ll be well on your way to a thriving aloe vera family.
The satisfaction of watching a new plant grow from a small cutting is a joy all gardeners can appreciate. So, next time your aloe plant produces a pup, you’ll know exactly what to do.