Key Takeaway
- Purchase fresh, viable aloe vera seeds from a trusted supplier
- Use a shallow tray or small pots with well-draining succulent mix
- Moisten the soil before sowing the seeds
- Place seeds on top and lightly cover with a thin layer of soil
- Keep the soil consistently moist but not soggy
- Cover with plastic or a humidity dome to retain warmth
- Place in indirect sunlight with temperatures around 21–27°C
- Germination may take 2–4 weeks—be patient
- Transplant seedlings carefully once they grow a few inches tall
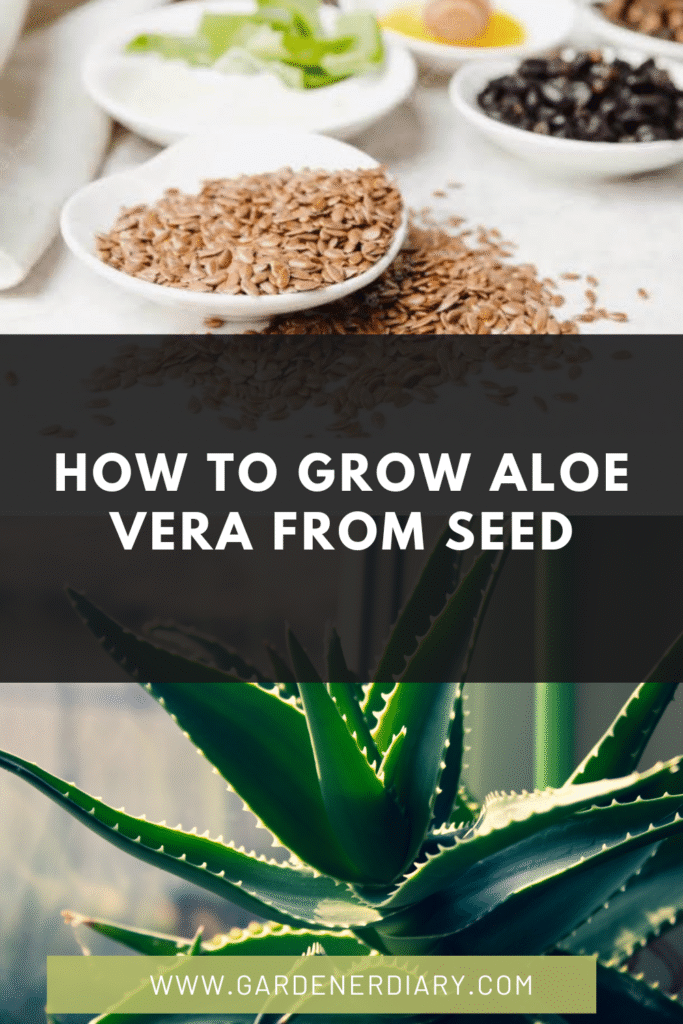
How to Grow Aloe Vera from Seed: The Challenging but Rewarding Path to Propagation
Most aloe vera enthusiasts know the best ways to propagate their favorite succulent: by separating pups or taking a cutting from the main stem. These methods are fast, reliable, and produce a clone of the parent plant. However, for the dedicated gardener, there is a more profound and challenging path to explore—growing aloe vera from seed.
While this method is not for the impatient, it offers a unique opportunity to witness the entire life cycle of the plant, from a tiny speck to a mature, thriving succulent. It’s a journey that requires meticulous care, patience, and a deep understanding of the plant’s needs. This guide will walk you through every step of this rewarding process, from sourcing viable seeds to nurturing your delicate seedlings into robust plants. We’ll also look at the science behind seed germination and why it’s so different from other propagation techniques.
Understanding the Challenge: Why Seed Propagation is Different
Unlike vegetative propagation, where you create a new plant from a part of the parent plant, growing from seed is a process of sexual reproduction. This is why it’s so much slower and less predictable. A seed contains a tiny embryo that needs very specific conditions to break dormancy and begin to grow. This is a topic of extensive study in horticulture and botany, with research dedicated to understanding the ideal conditions for germination. For instance, a study on two different species of aloe looks at the germination and growth performance of Aloe plants under different substrates, highlighting the importance of the correct soil.
- Low Success Rate: Aloe vera seeds have a notoriously low germination rate compared to other plants.
- Slow Growth: The initial growth from a seed is incredibly slow. A seedling can take months or even a year to grow to the size of a pup. This is in stark contrast to the much faster growth you can achieve from an established plant by following our guide on how to grow aloe vera fast at home.
- Genetic Variation: Unlike pups or cuttings, which are genetic clones, a plant grown from seed will have genetic variations from its parent.
For these reasons, most gardeners opt for methods like propagating from a leaf or from a cutting, as these are much more likely to succeed.
Step-by-Step Guide: Sowing and Germinating Aloe Vera Seeds
Step 1: Sourcing High-Quality Seeds
The first and most important step is to obtain fresh, viable seeds from a reputable source. Old seeds have a significantly lower chance of germinating.
- Where to Buy: Look for specialized seed retailers online. Avoid buying from sources with poor reviews, as seed quality can be inconsistent.
- Harvesting Your Own: If you have a flowering aloe vera plant, you can collect your own seeds. The plant will produce a flower stalk, which eventually dries out and produces seed pods. Wait for the pods to turn brown and split open before collecting the seeds.
Step 2: Preparing the Seed-Starting Mix and Container
The right environment is crucial for germination. A scientific publication confirms the significance of the substrate in the germination process, as seen here.
- Sterilize the Soil: Use a sterile, fine-grained, and well-draining soil mix. A mixture of equal parts sterile potting soil, perlite, and coarse sand works well. Sterilizing the soil (e.g., by baking it in an oven) can prevent fungal diseases like damping off, which are a major threat to seedlings.
- Choose the Right Container: Use a shallow seed tray or pot with plenty of drainage holes. Clean the container thoroughly before use.
Step 3: Sowing the Seeds
The sowing process requires a gentle touch and careful attention to detail.
- Moisten the Soil: Fill the container with your prepared mix and moisten it thoroughly with a spray bottle. The soil should be damp but not waterlogged.
- Sow the Seeds: Sprinkle the tiny seeds evenly across the surface of the soil. Don’t bury them deep. Just a very light dusting of soil or sand over the top is sufficient.
- Create a Greenhouse Effect: Cover the tray with a clear plastic dome or a layer of plastic wrap to create a humid environment. This is crucial for germination.
Step 4: Providing the Ideal Environment for Germination
Germination is highly dependent on light, temperature, and moisture.
- Light: Place the tray in a location with bright, indirect light. Direct sunlight can cook the seeds and dry out the soil.
- Temperature: Maintain a warm temperature, ideally between 21-27°C (70-80°F). A heat mat can be very helpful for this.
- Moisture: Keep the soil consistently moist but never soggy. Use a spray bottle to mist the soil surface gently whenever it begins to dry out. The plastic cover should help retain moisture.
- Patience: Aloe vera seeds can take anywhere from a few weeks to several months to germinate. Be patient and don’t give up too quickly.
Post-Germination Care: Nurturing Your Seedlings
Step 5: Hardening Off the Seedlings
Once you see tiny seedlings emerge, it’s time to acclimate them to their new environment.
- Remove the Cover: Gradually remove the plastic dome or wrap. Start by propping it up for a few hours a day and slowly increase the time until you can remove it completely. This prevents shock.
- Watering: Continue to water gently with a spray bottle or by bottom-watering, being careful not to overwater.
- Light: Keep the seedlings in a bright, indirect light location.
Step 6: Transplanting the Seedlings
When the seedlings are large enough to handle (e.g., about an inch or two tall), you can transplant them into their own individual pots.
- Prepare the Pots: Use a small pot (2-3 inches in diameter) with drainage holes, filled with a well-draining succulent mix.
- Gently Transplant: Using a small tool or your fingers, carefully lift a seedling and place it into its new pot. Be extremely gentle with the delicate roots.
- Water and Wait: Give the newly transplanted seedling a light watering and place it in a bright spot away from direct sun for a few days to recover from the stress of transplanting.
Once your seedlings are established, they will grow into the mature plants you desire, whether you choose to keep them indoors or, for larger-scale cultivation, outside. This is the foundation for a life-long plant! The meticulous process of growing aloe vera from seed is a stark contrast to the ease of growing aloe vera in water, which is not a viable long-term solution. For large-scale production, like in an aloe vera farm, more controlled methods of propagation are typically used. Another study also explores micropropagation techniques for different aloe species, which you can read about here.
Conclusion: The Ultimate Test of a True Gardener
Growing aloe vera from seed is a test of patience and skill, but it is one of the most rewarding experiences a gardener can have. While it is challenging and time-consuming, the satisfaction of watching a plant you started from a single seed grow into a majestic succulent is unparalleled. The key to success lies in providing the right environment from the start: high-quality seeds, a sterile and well-draining soil mix, a warm and humid environment, and a lot of patience.
So, if you’re looking for a new challenge beyond propagating from pups or cuttings, give the seed method a try. You’ll gain a deeper appreciation for the life and resilience of the incredible aloe vera plant.