Key Takeaway
- Select a healthy aloe vera pup (offset) with minimal damage
- Gently rinse off all soil and let the base dry for a day
- Place the base in a glass jar with just enough water to touch the roots
- Ensure the leaf is not submerged to prevent rotting
- Use clean, filtered or distilled water for best results
- Change the water every 2–3 days to prevent bacterial growth
- Keep the jar in a bright, indirect sunlight location
- Roots may begin developing after a few weeks
- Transplant to soil once roots are 2–3 inches long for long-term health
How to Grow Aloe Vera in Water: The Complete Guide (and Why It’s a Temporary Fix)
The idea of growing succulents in water has surged in popularity, driven by stunning social media posts and the minimalist aesthetic of water propagation. For a plant as iconic as aloe vera, the question naturally arises: Can you grow aloe vera in water?
The short answer is yes, you can, but it comes with a major caveat: this is a temporary method, not a sustainable solution for the long-term health of your plant. Aloe vera is a desert succulent adapted to dry, sandy soil, and its roots are not designed to be submerged in water for extended periods. This guide will teach you how to grow aloe vera in water as a short-term rooting strategy or a beautiful display piece, but we’ll also be very clear about the risks and the crucial steps needed to transition your plant back to soil. We also have a guide for those who want to know how to grow aloe vera without roots in general.
The Science Behind Aloe Vera and Water
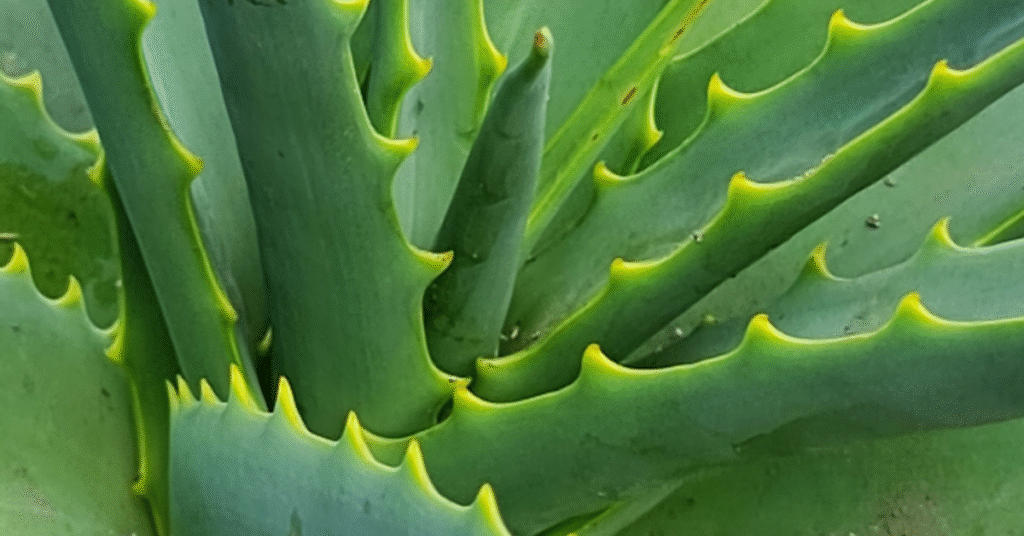
Aloe vera is a xerophytic plant, meaning it is adapted to survive in environments with little water. Its thick, fleshy leaves are a testament to this, as they store water to sustain the plant through long, dry periods. The root system is also designed for these conditions, specialized for seeking out and absorbing moisture from a soil environment.
When you submerge aloe vera roots in water, you disrupt this natural balance. The constant moisture can lead to root rot, a condition where the roots begin to decay due to a lack of oxygen and the proliferation of harmful bacteria and fungi. This is a common issue with water propagation of many succulents, as discussed in a scientific article on sustainable construction materials, where the plant’s properties are also analyzed here.
Step-by-Step Guide for Growing Aloe Vera in Water
If you’re still keen on trying this method, perhaps as a temporary measure to promote root growth or for a striking visual display, here are the steps to follow.
Step 1: Choose the Right Plant Part
The most important step is selecting the right cutting. Do not use a single detached leaf, as it will almost certainly rot. Instead, use a “pup” or an offset. A pup is a small, new aloe plant that has grown from the base of the mother plant and often has its own tiny root system already.
- Pup: This is the most successful option. The pup already has a stem and the meristematic tissue needed for root growth.
- Cutting: You can use a cutting from a larger plant, which is similar to a pup, but you must be careful to select a piece that includes a small part of the stem, not just a leaf. We have a detailed guide on how to grow aloe vera from a cutting that will help with this. For more information on why single leaves fail, check our guide on how to grow aloe vera from a leaf.
Step 2: Curing the Cutting
This step is critical for success. If you put a fresh cutting directly into water, it will rot.
- Make a Clean Cut: If you are detaching a pup or a cutting, use a clean, sharp knife to make a precise cut.
- Let it Callus: Place the cutting in a warm, dry, and well-ventilated area away from direct sunlight. Wait for a tough, dry, calloused layer to form over the cut end. This can take several days to a week. The callus is a natural barrier that protects the plant from absorbing too much water and from bacterial infection.
Step 3: Preparing the Container and Water
The right container and water quality will significantly impact your plant’s survival.
- Choose a Container: Use a clear glass jar or vase so you can easily monitor the water level and root growth. Make sure the opening is wide enough to hold the cutting without it falling in.
- Add Water: Use filtered, distilled, or rainwater. Tap water can contain chlorine and other chemicals that may be harmful. Fill the container with enough water to cover only the very bottom of the cutting’s calloused base. The goal is to encourage roots to grow towards the water, not to submerge the entire plant.
Step 4: Placing the Plant and Waiting for Roots
Now comes the waiting game.
- Suspend the Cutting: Place the cutting in the container, ensuring that only the calloused base is touching the water. You can use string or a small piece of cardboard with a hole in the middle to suspend it.
- Change the Water: Change the water every 3-5 days to prevent the growth of algae and bacteria.
- Location: Place the container in a spot with bright, indirect light.
- Patience is Key: It can take weeks or even months for roots to appear. If the cutting starts to turn yellow or mushy, remove it and start over.
While this method can be successful, the best way to get a fast-growing aloe vera is still through traditional soil-based propagation. For those who want to start their plant from the very beginning, our guide on how to grow aloe vera from seed is a great resource, although it is a much slower process.
The Crucial Transition: Moving from Water to Soil
This is the most critical part of the process. If you leave the plant in water for too long, it will develop “water roots,” which are fine and delicate and not equipped to handle the rigors of soil.
- Wait for Root Growth: Once your cutting has developed a solid root system of 1-2 inches, it is time to transplant.
- Prepare the Pot: Use a small, well-draining pot and a specialized succulent or cactus potting mix. These mixes are designed for aeration and drainage.
- Transplant Carefully: Gently remove the cutting from the water and plant it in the soil, being careful not to damage the fragile roots.
- Do Not Water Immediately: Wait a few days before giving the plant its first light watering in its new home. This gives the delicate water roots time to adjust and prevents rot.
This is the essential final step for those who successfully grow aloe vera in water. Without it, the plant is doomed to fail. A plant’s ability to adapt to different environments is a subject of research, as seen in a publication on sustainable design, where aloe vera is a key component here.
Growing Aloe Vera Long-Term: The Right Way
For a healthy, long-lasting plant, a well-draining soil environment is non-negotiable. Whether you are growing your plant indoors in a pot or outside in a garden bed, the care principles remain the same. The soil should be allowed to dry out completely between waterings. This is the natural environment for the plant and what its root system is built for. The importance of the root-soil interaction is also a topic of scientific study, with research exploring its impact on plant growth and health, as found in a review on the plant’s cultivation here.
On a larger scale, the cultivation of aloe vera in an aloe vera farm also relies on meticulous control of soil moisture, nutrients, and sunlight to produce a high-quality crop. The insights gained from these large-scale operations can be applied to our small-scale indoor gardening efforts.
Conclusion: A Fun Experiment, But Not a Forever Home
While it is entirely possible to grow aloe vera in water for a short time, it’s crucial to understand that it is not a sustainable long-term solution. It’s a fun and beautiful way to propagate a cutting and watch roots form, but the plant’s health will eventually decline without the proper soil environment. The risk of root rot is simply too high, and the plant will not receive the nutrients it needs to thrive.
For a healthy, long-lasting plant, the best practice is to use water as a temporary rooting aid and then quickly transition the plant to a well-draining soil mix. This ensures your aloe vera will continue to flourish and provide you with its wonderful benefits for years to come.