Garlic is one of the easiest crops to grow at home, and you don’t need seeds to get started. With just a single clove, you can grow a full garlic bulb. The process is simple, rewarding, and perfect for both beginners and experienced gardeners.
Why Grow Garlic from a Clove?
- Each clove has the potential to grow into a whole bulb.
- Garlic is low-maintenance and grows in most soil types.
- Homegrown garlic often has a stronger flavor and better quality compared to store-bought ones.
- You can grow garlic in the ground, in pots, or even indoors depending on your space.
Research has shown that garlic clove health and spacing can directly affect bulb quality and yield (ResearchGate). That’s why choosing the right clove is the first and most important step.
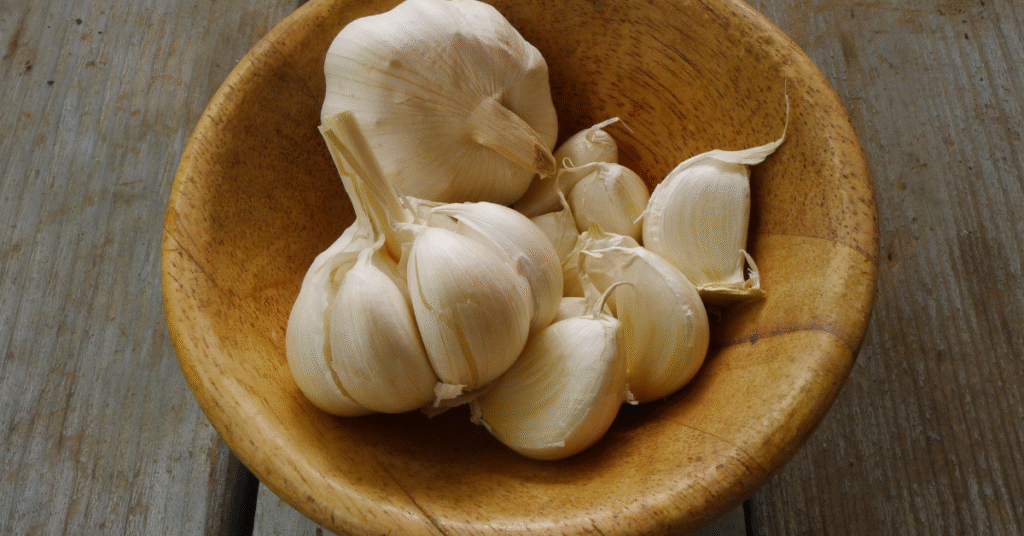
Step 1: Select the Right Cloves
- Pick large, firm cloves from a healthy bulb.
- Avoid using small or damaged cloves, as they may produce weak plants.
- Do not use garlic from the supermarket if it has been treated with chemicals to prevent sprouting.
A study on clove planting methods found that clove size and condition influence garlic growth significantly (ResearchGate Study).
Step 2: Prepare the Soil
Garlic grows best in well-drained, fertile soil with a pH between 6.0 and 7.0. Before planting:
- Loosen the soil to about 8 inches deep.
- Mix in compost or organic matter to boost fertility.
- Avoid overly wet or clay-heavy soils, as garlic bulbs may rot.
If you’re planning to store your harvest later, check out tips on how to keep garlic.
Step 3: Planting the Cloves
- Break the bulb apart gently, keeping the papery skin on each clove.
- Plant each clove pointy side up, about 2 inches deep.
- Space cloves 4 to 6 inches apart to give them room to grow.
According to a ScienceDirect study, proper spacing and soil fertility management can significantly improve garlic yield and bulb size.
Step 4: Watering and Care
- Water garlic regularly, especially during dry spells, but don’t overwater.
- Mulch with straw or dried leaves to retain soil moisture and prevent weeds.
- Garlic doesn’t need much fertilizer, but a nitrogen boost in the early stages can help growth.
If you want to grow garlic in limited space, see this guide on how to grow garlic in pots or even try growing garlic indoors.
Step 5: Harvesting Garlic
Garlic is usually ready to harvest in late spring or summer, about 8–9 months after planting. Signs it’s ready include:
- Lower leaves turning yellow and drying out.
- Bulbs feeling firm and well-formed.
Carefully lift the bulbs with a garden fork rather than pulling them out. After harvesting, allow garlic to cure in a dry, well-ventilated place for 2–3 weeks.
Step 6: Storing Garlic
Once cured, garlic can be stored for months in a cool, dry, and dark place. Braiding the stalks or storing in mesh bags keeps airflow around the bulbs.
For fresh use, see guides on how to cut garlic or tips on how to remove garlic breath.
Health Benefits of Garlic
Beyond its culinary uses, garlic is widely studied for its health properties. Research suggests that garlic contains compounds with antimicrobial, antioxidant, and cardiovascular benefits (PubMed Central). Growing your own garlic ensures you’re consuming the freshest and most potent form.
Final Thoughts
Growing garlic from a clove is simple, sustainable, and rewarding. Whether in your backyard, pots, or even indoors, you can enjoy a steady supply of fresh garlic all year round. With the right cloves, healthy soil, and proper care, each clove will reward you with a whole bulb packed with flavor and health benefits.