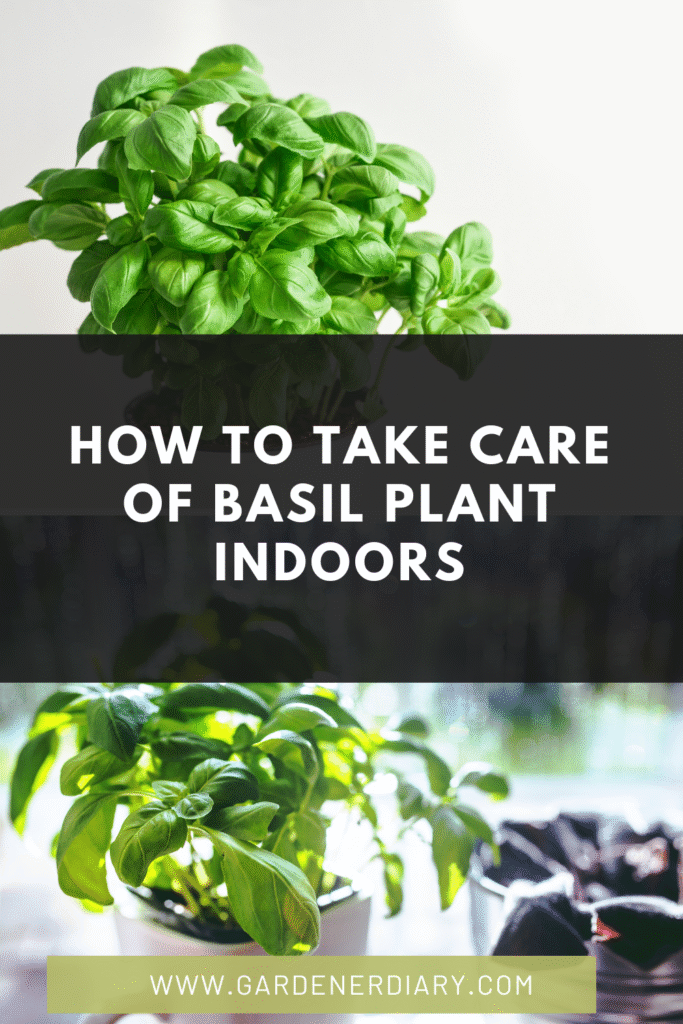
How to Take Care of Basil Plant Indoors: A Step-by-Step Guide for Lush Growth
There’s nothing quite like the aromatic delight of fresh basil, whether it’s enhancing a homemade pesto, garnishing a Caprese salad, or adding a burst of flavor to your favorite Italian dish. While basil (Ocimum basilicum) is a sun-loving herb typically grown outdoors, learning how to take care of basil plant indoors allows you to enjoy its vibrant leaves and distinctive fragrance year-round, regardless of the climate outside. This comprehensive, step-by-step guide will walk you through everything you need to know to successfully grow basil indoors, transforming your kitchen into a thriving herb garden.
Step 1: Choosing Your Basil Variety & The Perfect Pot
The foundation of a healthy indoor basil plant begins with selecting the right variety and providing it with a suitable home.
Basil Varieties for Indoor Growing
While most basil varieties can be grown indoors, some are better suited to container life:
- Genovese Basil: The classic pesto basil, known for its large, fragrant leaves. It can grow quite large but responds well to pruning.
- Dwarf or Bush Basil: Varieties like ‘Spicy Globe’ or ‘Bush Basil’ are naturally more compact, making them ideal for windowsills or smaller spaces.
- Lettuce Leaf Basil: Features very large, crinkled leaves, excellent for wraps or salads.
- Thai Basil: Offers a distinct anise-like flavor and often has purple stems and flowers, adding an ornamental touch.
Selecting the Right Pot
Proper drainage is paramount for basil.
- Size: Start with a pot at least 6-8 inches in diameter for a single plant. As your basil grows, you may need to repot it into a larger container (10-12 inches) to accommodate its root system and promote bushier growth.
- Material: Terracotta pots are excellent as they allow the soil to breathe and prevent waterlogging. Plastic pots also work but require more careful watering. Ensure any pot you choose has ample drainage holes at the bottom.
Step 2: Providing the Ideal Soil & Planting Your Basil
Basil thrives in well-draining, nutrient-rich soil.
Choosing the Right Soil Mix
Use a high-quality, well-draining potting mix. Avoid using garden soil, as it can compact, drain poorly, and introduce pests or diseases indoors. A good potting mix will provide aeration and retain moisture without becoming waterlogged. You can enhance drainage by mixing in some perlite or vermiculite.
Planting Your Basil
You can start basil from seeds or purchase a small plant from a nursery.
- From Seed: Sow seeds about 1/4 inch deep and 1 inch apart. Keep the soil consistently moist until germination, which usually occurs within 5-10 days. Once seedlings are a few inches tall, thin them to 3-4 inches apart, keeping the strongest seedlings.
- From Nursery Plant: Gently remove the basil plant from its nursery container, loosen any circling roots, and plant it in your chosen pot at the same depth it was previously growing. Water thoroughly after planting.
Step 3: Mastering Light Requirements for Indoor Basil
Basil is a sun-lover. This is perhaps the most critical factor for successful indoor growth.
- Sunlight: Basil needs at least 6-8 hours of direct sunlight per day. A south-facing window is usually the best spot indoors. If your basil isn’t getting enough light, it will become “leggy” (tall and stretched with sparse leaves).
- Grow Lights: For optimal growth, especially during shorter winter days or in homes with limited natural light, supplemental lighting is highly recommended. LED grow lights for houseplants are energy-efficient and effective. Position them 4-6 inches above your basil plant and provide 12-16 hours of light daily.
Step 4: Watering Your Indoor Basil Plant Correctly
Basil prefers consistently moist soil but hates being waterlogged. This balance is key to preventing common issues.
- Frequency: Check the soil moisture daily. Water when the top inch of soil feels dry to the touch. In warmer, brighter conditions, this might be every 1-2 days; in cooler, dimmer conditions, it could be less frequent.
- Method: Water thoroughly until water drains from the bottom of the pot. Discard any excess water from the saucer to prevent root rot. Bottom watering (placing the pot in a tray of water and letting it soak up moisture) can also be effective.
- Signs of Trouble:
- Wilting: Can indicate both under-watering (soil bone dry) or over-watering (roots suffocating). Check the soil moisture to diagnose.
- Yellow Leaves: Often a sign of over-watering or poor drainage.
- Crispy Brown Leaves: A clear sign of under-watering.
For more general guidance on basil’s needs, you can refer to research on its growth under various conditions, such as studies found on university extension sites.
Step 5: Maintaining Optimal Temperature & Humidity
Basil is a warm-weather herb and prefers consistent temperatures.
- Temperature: Aim for indoor temperatures between 65-75°F (18-24°C). Avoid placing basil near drafty windows, cold air conditioning vents, or heat sources that can cause sudden temperature fluctuations.
- Humidity: Basil enjoys moderate to high humidity. If your home air is very dry (common in winter with heating), consider misting your plant daily or placing the pot on a pebble tray filled with water (ensure the pot doesn’t sit directly in the water).
Understanding how environmental factors like temperature and light intensity affect basil growth is crucial for maximizing yield and flavor, as discussed in various horticultural studies.
Step 6: Feeding Your Basil: When & How to Fertilize
While basil is not a heavy feeder, container-grown plants will eventually deplete the nutrients in their potting mix.
- Frequency: Begin fertilizing about 3-4 weeks after planting or once your plant has established itself. Use a balanced liquid fertilizer (e.g., 5-5-5 or 10-10-10) diluted to half or quarter strength every 2-4 weeks during its active growing season (spring and summer). Reduce or stop fertilizing in fall and winter when growth slows.
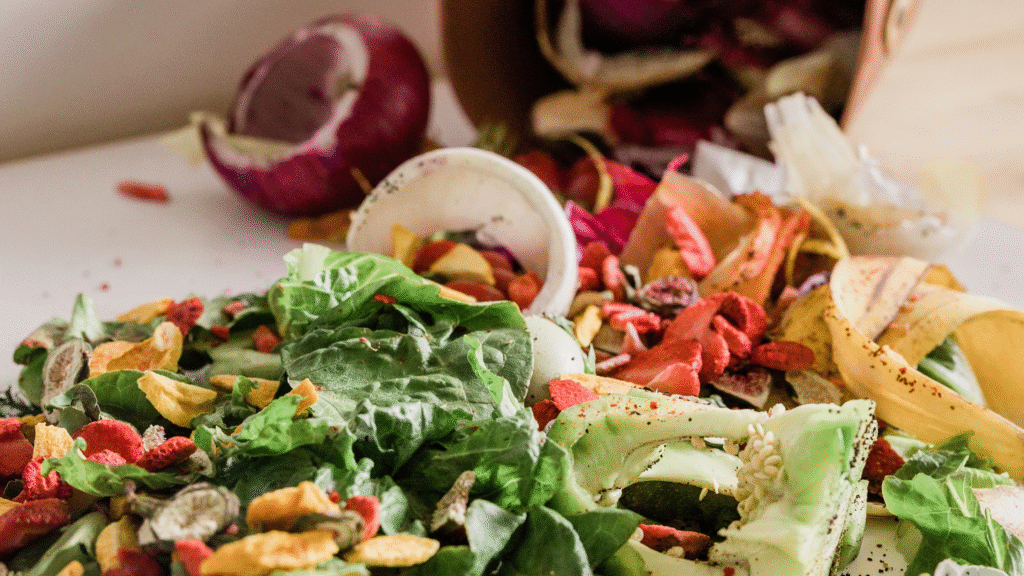
- Organic Options: You can also use organic fertilizers or even homemade options. Learn about best fruit peels for fertilizer or how to make fertilizer out of vegetable peels to give your basil a natural boost.
Step 7: Pruning & Harvesting for Bushy Growth
Regular pruning and harvesting are vital for encouraging your basil plant to grow bushy and productive, rather than tall and leggy.
- Pinch Back Regularly: Once your basil plant has 2-3 sets of true leaves, begin pinching off the top set of leaves just above a node (where two leaves emerge). This encourages the plant to branch out, leading to a bushier plant.
- Harvesting: Harvest leaves as needed, but avoid taking more than one-third of the plant at a time. Always pinch or snip just above a set of leaves or a branching point. This encourages new growth.
- Remove Flowers (Bolting): As basil matures, it will try to produce flowers. While pretty, flowering signals the plant is completing its life cycle, and leaf production will slow, and flavor can become bitter. Pinch off any flower buds as soon as you see them forming.
Watch this video for a visual guide on how to prune basil to promote bushier growth and extend your harvest.
Learn the best techniques for harvesting basil to ensure a continuous supply of fresh leaves.
Step 8: Pest & Disease Management for Indoor Basil
Indoor basil is generally less prone to pests than outdoor plants, but issues can still arise.
- Common Pests: Look out for aphids, spider mites, and fungus gnats.
- Aphids/Spider Mites: Small sap-sucking insects. Treat with a gentle spray of insecticidal soap or neem oil.
- Fungus Gnats: Small flying insects that thrive in overly moist soil. Allow the top inch of soil to dry out between waterings. Yellow sticky traps can help.
- Diseases: The most common issue is fungal diseases like damping-off (for seedlings) or fungal leaf spots (e.g., downy mildew, fusarium wilt). These are often caused by poor air circulation and excessive humidity.
- Prevention: Ensure good air circulation (a small fan can help), avoid overwatering, and ensure proper spacing.
- For more in-depth information on basil diseases and their management, scientific research provides valuable insights, such as studies on basil plant health.
Step 9: Repotting Your Growing Basil
As your basil plant matures, its roots will fill the current pot.
- When to Repot: Look for signs like roots growing out of drainage holes, water running straight through the pot, or stunted growth despite proper care.
- How to Repot: Choose a pot that is 2-4 inches larger in diameter. Gently remove the basil plant, loosen any circling roots, and place it in the new pot with fresh potting mix. Water thoroughly.
Step 10: Winter Care for Indoor Basil
Basil is an annual in most climates, meaning it completes its life cycle in one growing season. However, indoors, with proper care, you can extend its life significantly, often for several months or even a year.
- Reduced Light: Winter days are shorter and light intensity is lower. This is when grow lights become most crucial for maintaining healthy growth.
- Reduced Watering: Growth slows in winter, so your basil will need less water. Adjust your watering frequency to match the plant’s needs, allowing the top soil to dry out more.
- Temperature Stability: Protect your basil from cold drafts near windows or doors.
For more general advice on keeping herbs thriving indoors, resources like university extension guides on growing herbs indoors can be very helpful.
Troubleshooting Common Indoor Basil Issues
- Drooping Leaves: Usually underwatering. Check soil moisture. If soil is wet, it could be overwatering leading to root rot.
- Yellowing Lower Leaves: Often a sign of overwatering or nutrient deficiency. Ensure good drainage and consider light fertilization.
- Small, Pale Leaves: Insufficient light. Move to a brighter location or add a grow light.
- White Spots/Powdery Substance: Could be powdery mildew (fungal). Ensure good air circulation and avoid wetting leaves when watering.
Conclusion: Enjoy Your Homegrown Basil!
Learning how to care for basil plant indoors is a simple yet incredibly rewarding endeavor. By providing consistent light, proper watering, good drainage, and regular pruning, you can ensure a steady supply of fresh, aromatic basil leaves right from your kitchen. This not only enhances your culinary creations but also adds a touch of vibrant greenery and a delightful fragrance to your home. Embrace the joy of indoor herb gardening and savor the taste of your homegrown basil all year long!