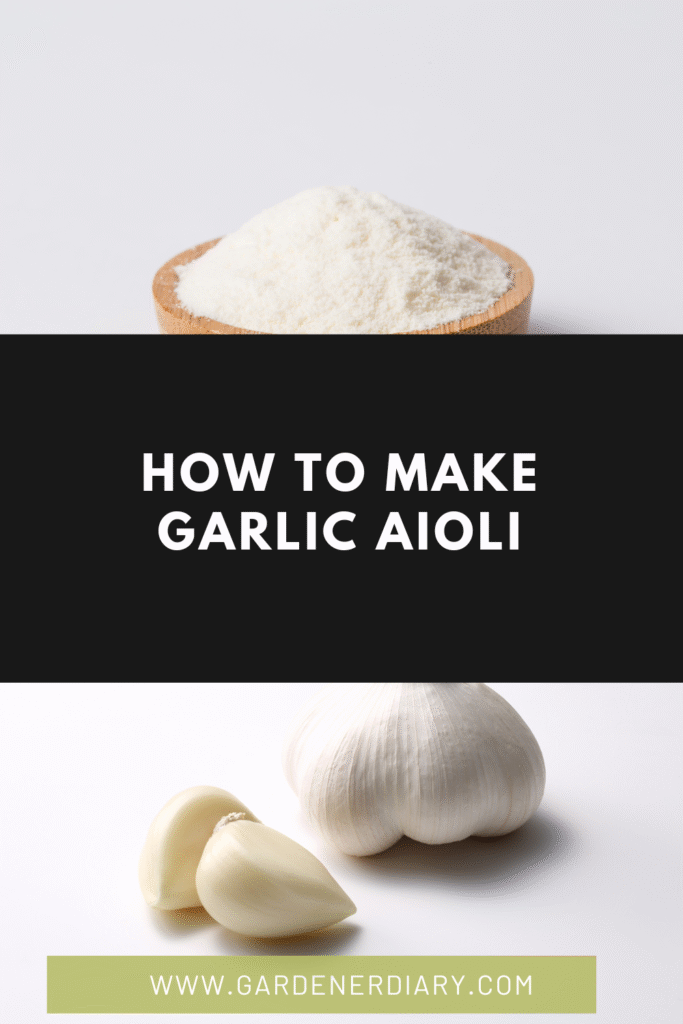
Garlic aioli is a silky, flavorful condiment that transforms ordinary dishes into something extraordinary. This creamy sauce, traditionally made with garlic, oil, and egg yolk, has its roots in Mediterranean cuisine but has gained worldwide popularity for its versatility and bold taste. From dipping crispy fries to spreading on sandwiches or serving alongside grilled seafood, garlic aioli adds depth, richness, and an unmistakable garlicky kick.
In this guide, we’ll explore how to make garlic aioli from scratch, discuss variations, troubleshoot common problems, and suggest creative ways to use it. Whether you prefer the classic mortar-and-pestle method or a quick blender approach, you’ll find a process that fits your kitchen style.
Key Takeaway:
- Garlic aioli is a Mediterranean garlic-and-oil emulsion with endless uses.
- Use fresh garlic for a sharp taste or roasted garlic for a mellow sweetness.
- Slowly add oil to egg yolks for a stable emulsion.
- Customize with herbs, spices, or citrus zest.
- Store in the fridge for up to 4 days—never freeze.
What Is Garlic Aioli?
Traditionally, aioli means “garlic and oil” in Provençal and Catalan, referring to a simple emulsion made by grinding fresh garlic into a paste and slowly whisking in olive oil. Over time, the recipe evolved to include egg yolks, lemon juice, and sometimes mustard, giving it a creamier, mayonnaise-like texture while still maintaining that signature garlic punch.
Many people think of aioli as just “garlic mayonnaise,” but while they share similarities, authentic aioli focuses on garlic as the hero ingredient and often uses olive oil for its distinctive Mediterranean flavor.
If you love garlic-based condiments, you might also enjoy learning how to make garlic paste or how to make garlic sauce, which offer different textures and uses.
Ingredients for Garlic Aioli
The beauty of garlic aioli is its simplicity. For the classic version, you’ll need:
- Fresh garlic cloves – peeled and either minced or crushed into a paste (see how to peel garlic quickly)
- Egg yolks – help emulsify the oil and give the aioli a creamy consistency
- Extra virgin olive oil – for authentic flavor; can be blended with a neutral oil to soften the taste
- Lemon juice – brightens the flavor and balances richness
- Salt – enhances taste and preserves freshness
Optional additions:
- Mustard – adds tang and stabilizes the emulsion
- White pepper – for mild spice without visible black specks
If you prefer a roasted flavor, try incorporating cloves made using how to roast garlic in the oven.
Preparing the Garlic
The garlic you choose and how you prepare it will define the intensity of your aioli.
1. Raw Garlic
For sharp, pungent aioli, use raw garlic cloves. Crush them into a smooth paste with a mortar and pestle, adding a pinch of salt to help break down the fibers.
2. Roasted Garlic
For a sweeter, milder aioli, roast the garlic first. Follow how to roast garlic in the oven for soft, caramelized cloves.
3. Blanched Garlic
If raw garlic is too strong for you, blanch peeled cloves in boiling water for 1–2 minutes, then cool before crushing.
How to Make Garlic Aioli – Classic Mortar-and-Pestle Method
This is the traditional approach for making aioli and results in an intensely flavored, rustic texture.
- Crush Garlic – In a mortar, crush garlic cloves with a pinch of salt until smooth.
- Add Egg Yolks – Stir the yolks into the garlic paste.
- Slowly Add Oil – While constantly stirring, add oil a few drops at a time until the mixture begins to thicken.
- Incorporate Lemon Juice – Once the emulsion is stable, mix in lemon juice for brightness.
- Season to Taste – Add more salt or lemon juice as needed.
Blender or Food Processor Method
For a quicker version:
- Place garlic, egg yolks, lemon juice, and salt in the blender or processor.
- Blend briefly to combine.
- With the motor running, slowly drizzle in oil until thick and creamy.
- Taste and adjust seasoning.
This method produces a smoother, more uniform aioli and takes just a few minutes.
Flavor Variations
Garlic aioli is endlessly customizable:
- Herb Aioli – Add fresh basil, parsley, or dill for an aromatic twist.
- Spicy Aioli – Blend in chili flakes, sriracha, or cayenne pepper.
- Smoked Aioli – Use smoked paprika or roasted smoked garlic for depth.
- Citrus Aioli – Add orange or lime zest for a refreshing note.
You can also mix aioli into other garlic-based recipes like how to make garlic sauce for chicken or how to make garlic sauce for prawns.
Serving Ideas
Garlic aioli pairs with a variety of dishes:
- As a dip for fries, roasted potatoes, or fresh vegetables
- Spread on burgers, sandwiches, and wraps
- Served alongside grilled fish, shrimp, or calamari
- As a condiment for roasted meats, especially lamb and chicken
- Drizzled over roasted vegetables or grain bowls
- As a flavorful base for potato salad or coleslaw dressing
It also works beautifully with Mediterranean-inspired dishes like kebabs—see how to make garlic sauce for kebab.
Storing Garlic Aioli
- Store in an airtight container in the refrigerator for up to 4 days.
- Do not freeze; the emulsion will break when thawed.
- Always refrigerate promptly because aioli contains raw egg yolks.
For a longer-lasting garlic flavor in your pantry, try how to make garlic powder.
Common Problems and Fixes
Problem: Aioli Won’t Thicken
- Cause: Adding oil too quickly or using cold ingredients.
- Fix: Start over with a fresh yolk in a clean bowl and slowly whisk in the broken mixture.
Problem: Too Strong Garlic Taste
- Fix: Use roasted garlic or reduce the number of cloves.
Problem: Aioli Tastes Bitter
- Cause: Overprocessing olive oil in a blender.
- Fix: Use a combination of olive oil and neutral oil, and blend minimally.
Problem: Emulsion Breaks in Storage
- Fix: Rewhisk before serving or stabilize with mustard.
Garlic Aioli vs. Mayonnaise
While similar in appearance, they differ in taste and origin:
- Aioli – Garlic is the star ingredient, often using olive oil and traditional emulsification methods.
- Mayonnaise – Primarily egg yolk and neutral oil, with vinegar or lemon juice; garlic may be added but isn’t essential.
If you prefer a simpler mayo-like spread, you might explore how to make garlic sauce for bread.
Making Aioli Without Eggs
For those avoiding raw eggs:
- Replace egg yolks with aquafaba (liquid from canned chickpeas) as the emulsifier.
- Use the same process of slowly adding oil while whisking or blending.
- The result will be slightly lighter but still creamy.
Health and Safety Tips
Because traditional aioli uses raw egg yolks, there’s a slight risk of salmonella. To reduce this risk:
- Use pasteurized eggs.
- Keep aioli refrigerated and discard after 4 days.
- Avoid serving raw egg aioli to immunocompromised individuals, pregnant women, or young children.
If you want to explore other cooked garlic condiments, try how to make garlic sauce for pasta for a hot, comforting dish.
Creative Ways to Use Garlic Aioli
- Toss with roasted vegetables before serving for extra flavor.
- Swirl into soups for a garlicky finish.
- Use as a dressing for potato salad.
- Spread on grilled bread for a luxurious twist on garlic toast.
- Serve as a dipping sauce for seafood platters.
Frequently Asked Questions
Q: Can I make aioli ahead of time?
Yes, but it’s best enjoyed within 24–48 hours for peak flavor.
Q: Can I use pre-minced garlic?
Fresh garlic is preferred for maximum flavor, but pre-minced can work in a pinch.
Q: Can I make aioli without oil?
No, oil is essential for the emulsion that creates aioli’s texture.
Q: Is aioli gluten-free?
Yes, when made with gluten-free ingredients.
Final Thoughts
Garlic aioli is more than just a sauce—it’s a culinary upgrade that brings richness, depth, and a punch of garlic to countless dishes. Whether you opt for the traditional mortar-and-pestle method or a quick blender version, making aioli at home means fresher flavor, full control over ingredients, and endless customization.